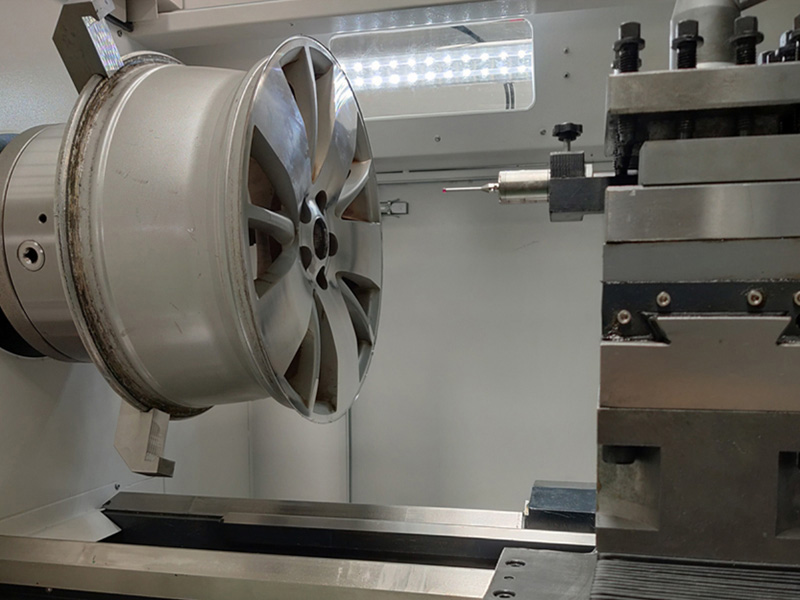
At present, there are two types of detection systems for wheel repair machine on the market, one is contact probe detection and the other is non-contact laser detection.
Contact probe detection directly measures the end-face of the wheel by contacting according to the set spacing, form a curve consisting of points equidistant from X. There are two kinds of laser detection. One detection method is the same as the probe detection method, and the other is to scan along the end surface of the wheel at a set speed, and record the detection data at a certain frequency to form a curve.
The detection system used in our wheel repair machine is contact probe detection. It consists of a rod and a ruby ball. Ruby is one of the hardest materials currently known, it has a good surface finish and has excellent compressive strength and collision resistance. We use contact probe detection because it also has the following advantages:
1. Contact probe technology has been developed for decades. It’s mechanical structure and electronic system are quite mature, so it has high accuracy and reliability.
2. The contact type measurement directly contacts the surface of the wheel, it has little relationship with the reflection characteristics, color and curvature of the wheel surface, so the measurement accuracy is high.
Contact measurement can quickly and accurately measure the shape, circle, line, surface, etc. of the wheel.
There are also many manufacturers in the market that use laser detection. The advantages of laser detection are fast speed and high efficiency. But it also has many shortcomings:
1. The perpendicularity with the surface of the measured object affects the measurement accuracy. If the surface of the measured wheel is not flat, it is not perpendicular to the surface of the probe, there will be a large degree of error in the measurement.
2. The measurement accuracy is relatively low, resulting in distortion of the measurement data on the surface of the wheel, and the final cutting effect is not ideal.
3. Laser detection mostly receives the reflected light or scattered light of the workpiece, it is susceptible to the reflection characteristics of the workpiece surface, such as brightness, color, curvature, etc.
4. Steep surface is not suitable for measurement, so is not easy to repair.
Contact measurement is currently commonly used in wheel repair machine industry. There are many errors in laser detection and cutting errors may occur. We recommend that customers choose the contact probe detection system with higher measurement accuracy when purchasing the wheel repair machine, which can help you achieve better repair results.


