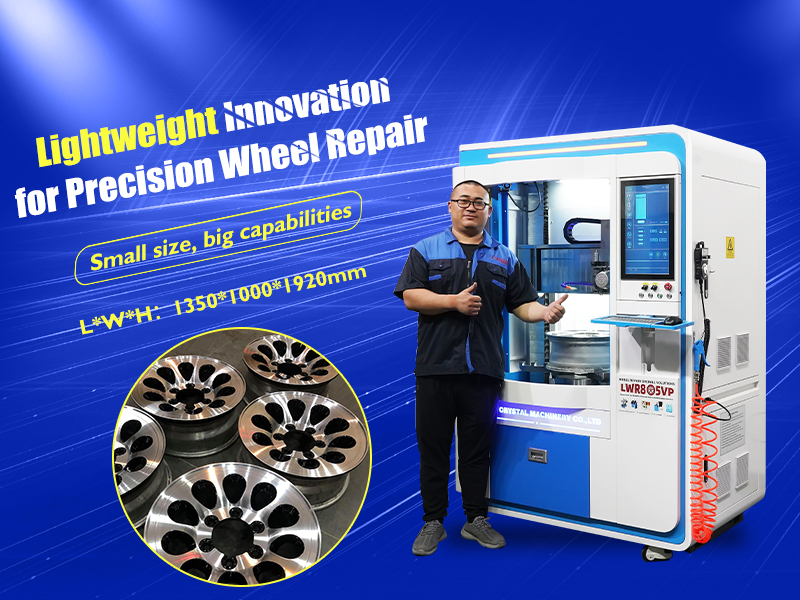
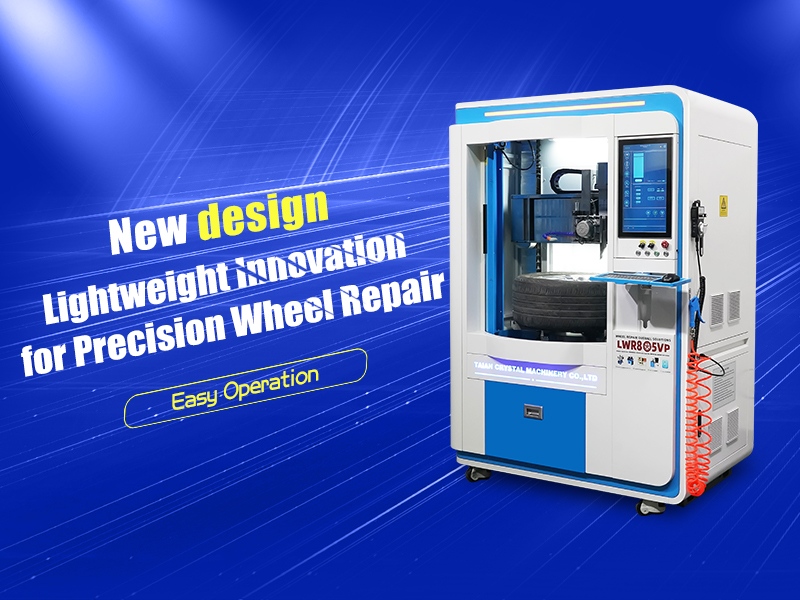
The diamond cut alloy wheel repair process is a precise and meticulous process that includes several key steps to ensure a flawless result. Renovators typically use the latest equipment and techniques to ensure that each wheel they repair is restored to its former glory.
Step 1: Initial Inspection and Preparation
The first step in the diamond cut repair process is a thorough inspection of the damaged wheel. The technician will assess the extent of the damage, including any dents, scratches, or corrosion that may be present. Based on the results of the inspection, the wheel will be checked if it is suitable for a diamond cut repair or if another repair method is required. If the damage is too extensive, the wheel may require a complete refurbishment, which may involve a combination of repair techniques.
Once the inspection is complete, the wheel needs to be thoroughly cleaned to remove any dirt, grease, or brake dust. This ensures that there are no contaminants on the wheel surface that could affect the repair process.
Step 2: Remove Old Paint
In the second step, the old paint on the alloy wheel needs to be carefully removed. This includes removing any paint or varnish that was applied during previous repairs or manufacturing. The wheel is placed in a specialized machine that removes the old paint, leaving a bare metal surface.
At this stage, any corrosion or imperfections on the metal can also be identified and addressed. If necessary, the wheel surface needs to be polished or sanded to ensure it is smooth and ready for the diamond cutting process.

Step 3: Diamond Cutting Process
Once the wheel is ready, the diamond cutting process begins. Using a high-precision wheel repair machine, technicians carefully remove a thin layer of coating from the surface of the alloy wheel. This process is performed with extreme precision to ensure a uniform surface across the entire wheel. Diamond cutting tools are used to create a reflective, shiny surface that highlights the design details and contours of the wheel.
This process not only restores the appearance of the wheel, but also improves its overall finish, making it look brand new. The precision of diamond cutting technology sets it apart from other repair methods, and the detailed treatment enhances the visual appeal of the wheel.
Step 4: Polishing and Finishing
Once the diamond cutting process is complete, the wheel is carefully polished to a high gloss. The polished surface reflects light, enhancing the design of the wheel and making it even more eye-catching. This step is crucial to achieving a perfect polish, as it ensures that the wheel looks flawless and as close to its original condition as possible.
At this stage, the wheel is given a protective clear coat. The clear coat seals the wheel surface, providing an extra layer of protection from environmental elements such as dust, debris and road salt. The clear coat also preserves the wheel's gloss and prevents further corrosion, ensuring the diamond-cut finish lasts for years to come.
Step 5: Final Inspection and Quality Control
The final step in the diamond cutting wheel repai rmachine LWR805VP process is a comprehensive inspection. The wheel is carefully inspected for any blemishes or imperfections, ensuring that the finish meets high quality standards. Once inspected, the wheel is ready to be reinstalled on your vehicle.


